The ESP8266 is designed to work with microcontroller boards like Arduino
and Raspberry Pi, making it easy to integrate into existing projects with
minimal overhead. The ESP8266 is a low-cost microcontroller that can be
programmed to operate as a stand-alone system or as an embedded part of a
larger product. It has built-in Wi-Fi connectivity, which allows it to
connect to other devices and send/receive data from them.
This
project is to build a simple ESP8266 Universal Wifi Deauthenticator. The
esp8266 can simply deauthenticate other networks that are connected to your router
and disconnect them, causing the connected network to reconnect slowly
over time. This method can be used to delay an attacker's time in the
network so they cannot compromise it. ESP8266 will send a packet
requesting that it connected to the protected network. As soon as this
happens, all clients will shut down immediately so they won't create any
traffic on WiFi network.
In this post, we're going to create esp8266 wifi jammer or
deauthenticator in simple steps.
Requirements -
1) An ESP8266 module
2) USB data cable
Installation -
1) First we need to install drivers according to chipset. There are 2
types of chipset - CH34x and
CP210x. So identify chipset and
install drivers according to your module.
Download Drivers for CH340
Download Drivers for CP210x
2) After this, download flasher tool from Github link.
Download N2D2 Flasher Tool
3) Now Extract zip file and launch
N2D2 tool
4) Now connect ESP8266 using USB Data Cable to Laptop / Desktop
5) The tool will automatically detects drivers and you device
6) Select
'Get the latest image from internet'
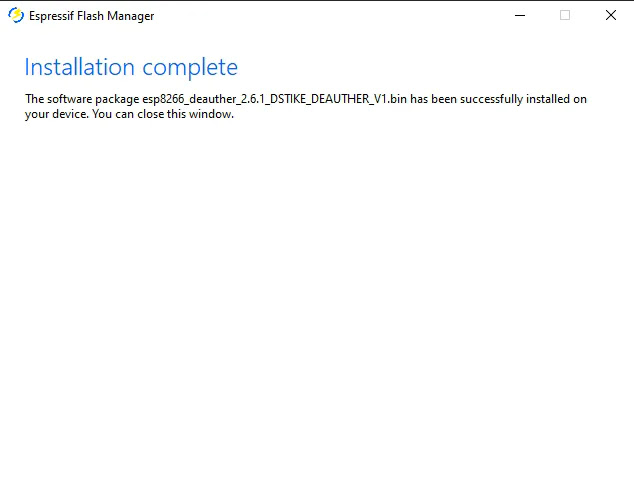
7) Now select software version for your device. We need software which
ends with 'DSTIKE_DEAUTHER_V1'. You can
choose V2 or V3. After this, it will download latest software from
Github.
8) Now Select
'Allow software installation'
9) After successful installation, close the tool.
How to use -
1) Connect your device to esp8266 using wifi. You can see the network
name 'pwned'. Use password
"deauther" to connect to the esp8266.
2) When device connects, Open you browser and go to this address
-
192.168.4.1
3) Click on
"I have read and understood the notice above"
4) Now you will get all wi-fi networks available near to you. Select
any one or multiple networks from list
5) Now goto the topmost navbar and select 'Attack' option. You will be redirected to attack page. You will get 3
options. Select any option of your choice
How these 3 options works -
1] Deauth
Closes the connection of WiFi devices by
sending deauthentication frames to access points and client devices you
selected.
This is only possible because a lot of devices don't use
the 802.11w-2009 standard that offers a protection against this attack.
Please
only select one target! When you select multiple targets that run on
different channels and start the attack, it will quickly switch between
those channels and you have no chance to reconnect to the access point
that hosts this web interface.
2] Beacon
Beacon packets are used to advertise access
points. By continuously sending beacon packets out, it will look like you
created new WiFi networks.
You can specify the network names under
SSIDs.
3] Probe
Probe requests are sent by client devices to
ask if a known network is nearby.
Use this attack to confuse WiFi
trackers by asking for networks that you specified in the SSID list.
It's
unlikely you will see any impact by this attack with your home network.
That's it.
Don't use this for illegal purposes.
TAGS -
#wifi-jammer #wifi-deauthenticator #esp8266 #nodemcu
Also Read -
Useful OSINT tool for bug hunters - Photon
Enable monitor mode in linux without disconnecting wifi